Introduction to Slit Lamp Illumination Technique and retroillumination
Slit lamp illumination technique is a diagnostic tool used in ophthalmology to examine the anterior and posterior segments of the eye. It is a non-invasive procedure that uses a high-intensity light source and a microscope to provide a magnified view of the eye’s structures.
The slit lamp illumination technique is widely used by ophthalmologists and optometrists for routine eye exams, as well as to diagnose and monitor various eye conditions such as cataracts, glaucoma, and macular degeneration.
This technique provides a detailed view of the eye’s structures, allowing healthcare professionals to identify any abnormalities or changes in the eye’s anatomy.

Components of Slit Lamp Illumination
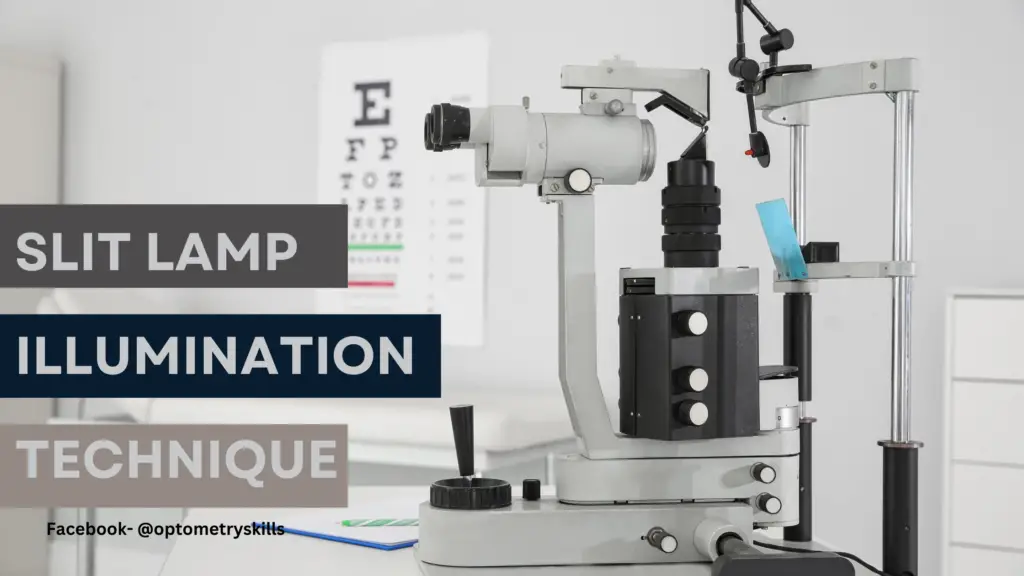
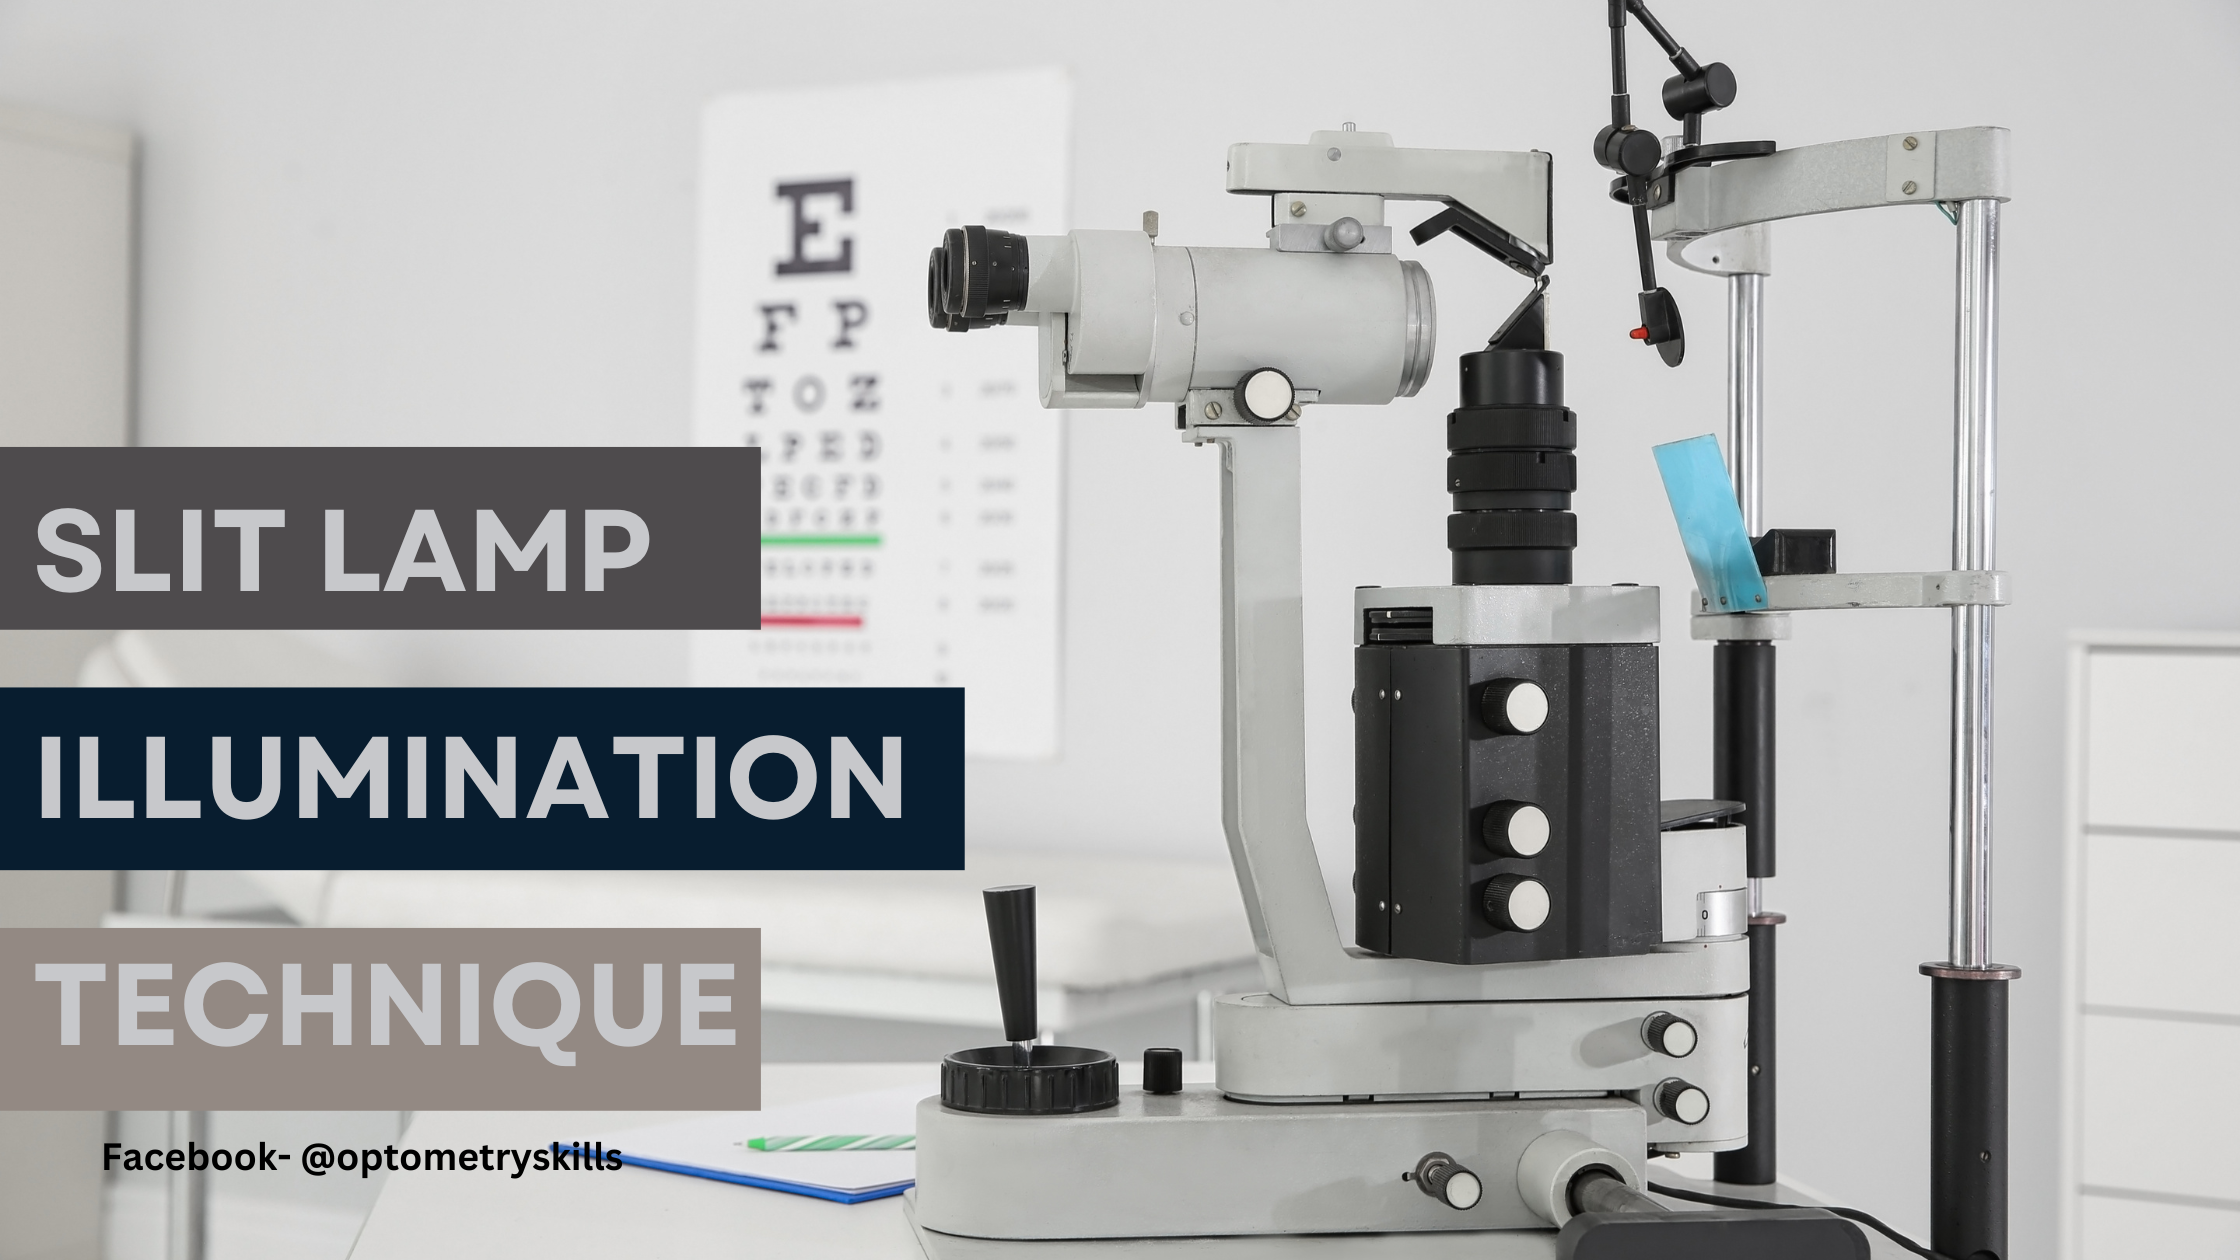
The slit lamp illumination technique is a widely used diagnostic tool in ophthalmology. It consists of several components that work together to provide a clear and detailed view of the eye’s structures. The main components of the slit lamp illumination system include the light source, the slit lamp microscope, and the filters.
The light source is usually a high-intensity bulb that provides bright and focused light. This light is directed towards the eye through a series of lenses and mirrors. The intensity and angle of the light can be adjusted to suit the specific needs of the examination.
The slit lamp microscope is the primary viewing component of the system. It consists of a binocular microscope with a set of oculars that magnify the image of the eye. The microscope is mounted on an arm that can be moved up and down, as well as side to side, to allow for precise positioning during the examination.
Filters are also an important component of the slit lamp illumination system. They are used to selectively filter out certain wavelengths of light, allowing for better visualization of specific structures in the eye. For example, a blue filter can be used to enhance the visibility of corneal abrasions or ulcers.
Overall, the combination of these components allows for a comprehensive examination of the eye’s structures, including the cornea, iris, lens, and retina.
Procedure for Slit Lamp Illumination
To perform slit lamp illumination, the patient is seated comfortably behind the slit lamp microscope. The chin rest and forehead support are adjusted to ensure that the patient’s head is stable and in the correct position.
The examiner then adjusts the height and angle of the slit lamp microscope to align with the patient’s eye. The microscope’s light source is turned on, and the intensity of the light is adjusted to the desired level.
Next, the examiner selects the appropriate slit width and length for the examination. The slit beam is focused on the area of interest by adjusting the joystick or knob on the microscope.
During the examination, the examiner may use additional lenses to magnify the structures being examined. These lenses can be placed directly on the cornea or held at a distance from the eye.
Throughout the procedure, the examiner should communicate with the patient to ensure their comfort and cooperation. The entire process typically takes only a few minutes and is painless for the patient.
Overall, the slit lamp illumination technique is a straightforward and effective way to examine the eye’s anterior segment. With proper training and equipment, healthcare professionals can use this technique to diagnose and monitor a wide range of ocular conditions.
Slit lamp Illumination technique:
Different Slit lamp Illumination techniques are-
• Diffuse illumination
- Direct illumination
- Parallelepiped
- Conical(pinpoint)
- Tangential
- Specular reflection
Indirect illumination
- Retro-illumination
- Sclerotic scatter
- Von Herrick Technique
- Contact Lens Evaluation
- Fluorescein techniques
- Gonioscopy
- Fundus views
DIFFUSE ILLUMINATION technique
Diffuse illumination technique is used to yelids, lashes, conjunctiva, sclera, pattern of redness, iris, pupil, gross pathology, and media opacities and it gives a good overall picture of the eye, but no fine details. It is used primarily for a general survey of the eye.
- corneal scar or infiltration.
- The presence of folds in Descemet’s membrane.
- invading blood vessels in the cornea
- Edema of the epithelium looks hazy, gray, and somewhat granular
- Contact Lens fitting
Important things to consider in Diffuse illumination technique
• Angle between microscope and illumination system should be 30-45 degree.
• Slit width should be widest.
• Filter to be used is diffusing filter.
• Magnification: low to medium
• Illumination: medium to high.
There are different types of retroillumination, depending on the source and direction of the light. Some common methods are:
- Direct retroillumination: The light source and the observer are aligned on the same axis. This allows for a clear view of the structures in front of the light, such as the iris or lens.
- Indirect retroillumination: The light source and the observer are at an angle to each other. This allows for a better view of the structures behind the light, such as the retina or choroid.
- Sclerotic scatter: The light source is placed at the edge of the cornea and the observer looks at the opposite edge. This creates a halo effect around the cornea and highlights any irregularities or opacities in it.
- Specular reflection: The light source and the observer are at a small angle to each other and close to the surface of the eye. This creates a mirror-like reflection from the corneal endothelium, which can reveal its cell density and morphology.


Retroillumination technique
What is Retroillumination?
Retroillumination technique is Used most often in searching for keratic precipitates and
other debris on corneal endothelium. The crystalline lens can also be retroilluminated for viewing of water clefts and vacuoles of anterior lens and posterior subcapsular cataract
Indirect retroillumination from iris


Performed as with direct retroillumination but the beam is directed to an area of the iris bordering the portion of iris behind pathology.
•It provides dark background allowing corneal opacities to be viewed with more contrast.
- Observe: Cornea, angles

Retroillumination from fundus(red reflex photography)

Retroillumination from retina:

The slit illuminator is positioned in an almost coaxial position with the biomicroscope. The slit beam at 2 to 4 degrees
- Shorten the beam to the height of the pupil to avoid reflecting the
bright light off of the iris. - The decentered slit beam is projected near the pupil margin
through a dilated pupil. - Focus the microscope directly on the pathology using 10X to 16X
magnification. Opacities will appear in silhouette.

Magnification can also be changed by changing the eyepiece power

Clinical Applications of Slit Lamp Illumination
Slit lamp illumination is a widely used technique in clinical settings due to its versatility and accuracy. This technique is particularly useful in ophthalmology, where it is used for the diagnosis and treatment of various eye conditions.
One of the most common applications of slit lamp illumination is the examination of the anterior segment of the eye, which includes the cornea, iris, and lens. By using this technique, eye care professionals can detect abnormalities such as cataracts, corneal ulcers, and glaucoma.
Another important application of slit lamp illumination is in the assessment of contact lenses. By examining the fit and position of contact lenses on the eye, eye care professionals can ensure that they are comfortable and safe for the patient to wear.
Slit lamp illumination can also be used to evaluate the effectiveness of treatments for eye conditions such as dry eye syndrome and conjunctivitis.
Overall, slit lamp illumination is a valuable tool in clinical applications due to its accuracy, versatility, and ease of use. Its ability to provide detailed images of the eye and other body parts makes it an indispensable tool for healthcare professionals.
Hope you enjoyed reading Slit Lamp Illumination Technique and retroillumination in Clinical Applications.
Discover more from An Eye Care Blog
Subscribe to get the latest posts sent to your email.


You must be logged in to post a comment.